Tsitsikamma Hiking Trail
- Sarah Bagley
- Apr 11
- 6 min read
The Tsitsikamma hiking trail is a breathtaking 5/6-day hike depending on what your group chooses. The hike begins in Natures Valley, Western Cape and ends 62 km later in Storms River, Eastern Cape. The trail takes you winding through beautiful indigenous forests and fynbos covered mountains and valleys.
We completed the 5-day hike (which combines day 1 & 2) in November 2025. We were treated with mostly lovely hot and sunny weather with one rainy day. We had plenty of swims and stops along the way spending most of our days out on the trails.
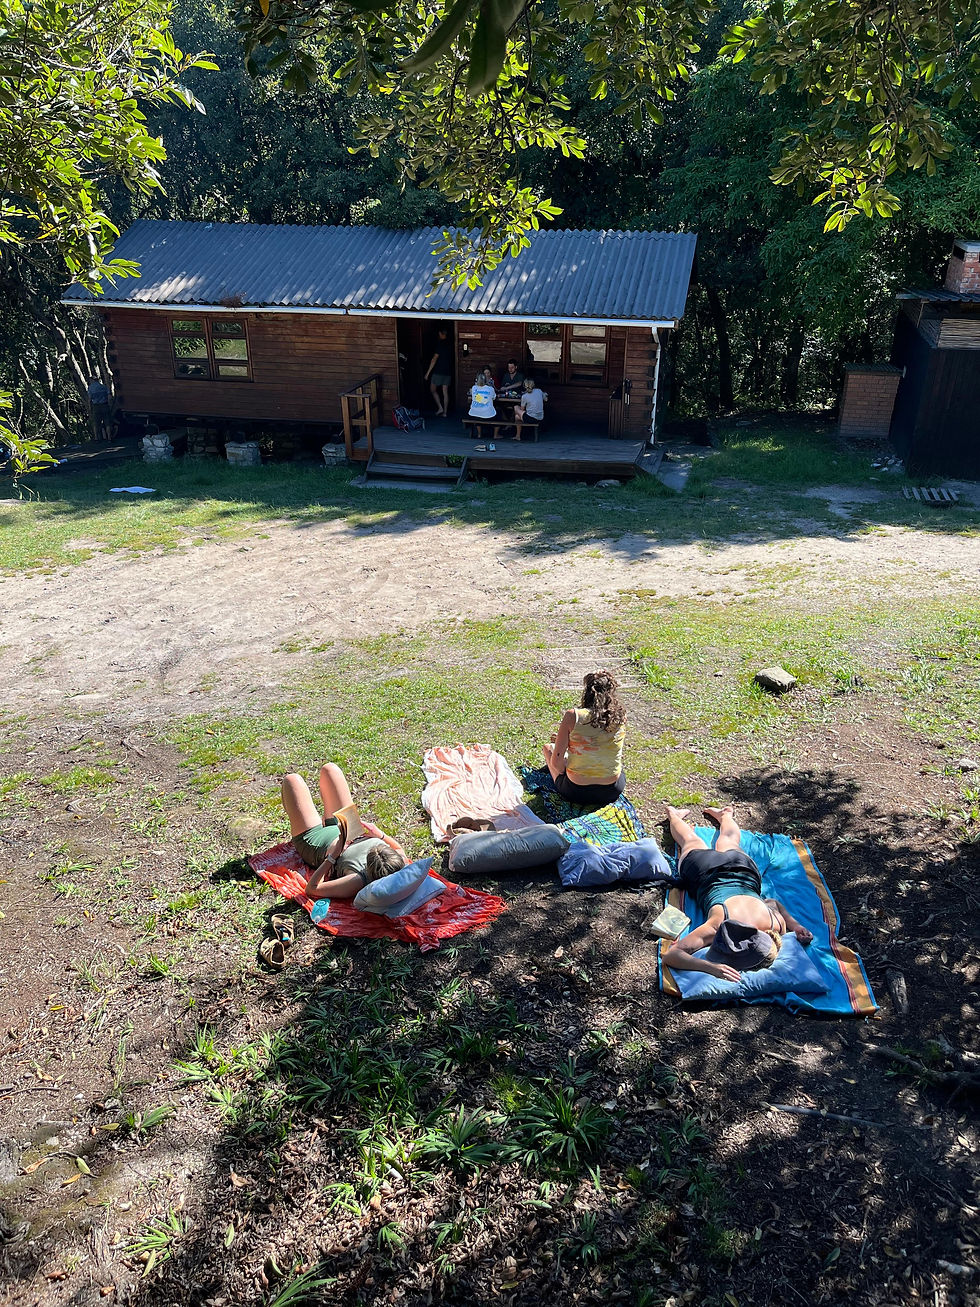
Accommodation along the trail is comfortable and well set up for hikers with a mix of a six-sleeper dorm, twelve-sleeper dorm, and six, two-sleeper A-frame.
Each overnight stop also has a communal kitchen with gas stoves, a braai area, washing basins and bathrooms with hot donkey-boiler showers (wood provided) and toilets.


We booked the hike through MTO Trails: https://www.mtotrails.com/tsitsikamma-hiking-trail . They have done a brilliant job with the Huts and the trail – the path was well marked and easy to follow.


There is also an option to slackpack, with porterage bringing your clothes and food from hut to hut for you – this is the option our group chose. We were quite confused about how the porterage works, so I thought I’d explain it here to help future hikes feel a bit more prepared.
Each person has a personal bag with clothing, toiletries, sleeping bag and pillow that will travel with the porters to each hut every night. In addition, each group has a dry food bag, a fridge bag and a freezer bag that must be clearly labeled with the hut they should be delivered to and the corresponding day of the trail and weather it should be dry, fridge or freezer.
You need to bring your own bags for your belongings and food, and these are transported on the back of an open bakkie to each respective hut. It’s a good idea to pack your clothing and bedding in a waterproof bag (or black bin bag), especially if you are hiking during a rainy period.
One helpful thing that we only learned once we were on the trail is that your day one food bags are taken to day 2’s hut as well and both taken to day 3 and so on. This is useful to know if you want to pack condiments, plates and utensils, or staples for your first night – you’ll have access to every night, along with any leftover that you may want to add to other meals, just know that your left overs won’t be refrigerated as they will go straight from one hut to the next.
Your lunches for each day are also packed into the food bags for porterage except for day 1, which must stay in your day pack. From then on, you’ll receive your lunch items with your food bags at each hut for the following day.
MTO trails also offers a shuttle service to bring you back to your cars at the start of the trail or if you have a big enough group you can leave cars at the start and the end as it is only a 40 minute drive on the N2 from start to finish of the trail.
Day 1 Bloukrans hut – 17km
The hike begins at the Natures Valley rest camp, SANParks campsite, you can safely leave your cars parked while on the trail.
We had a late start to our first day as we started on a Sunday and the MTO trail office only opens after 12pm. In hindsight, we could’ve coordinated with MTO to drop our bags the day before and started early.

Thankfully we managed to organise our bags outside the MTO office, and the SANParks officers at the gate kindly kept an eye on our things (to make sure the vervet monkeys didn’t tuck into our food for the next four nights). They informed MTO when they arrived that our bags were there and that we had already started the trail.
The hike starts by leaving the Natures Valley rest camp, turning right along the tar road for about a kilometer until you see a sign indicating the start to the rail on the right – entering the Tsitsikamma forest.
After some peaceful forest meandering, you will reach a river crossing about 2km into the hike. There is a chain to hold onto and he river is shallow enough to walk through without getting your bags wet – however you will need to roll up your pants and take off your shoes.

After 3km of hiking you will get to Kalander hut. This is where you would stop, if you were doing the 6-day hike option. There is no porterage to this hut, so if you do choose to stay here you will need to carry your own clothes, bedding and food that you need for your first night.
Kalander Hut is very close to the beach and lagoon, it is nice to include if you want a easy first day with lots of time to relax, swim and explore the coastline.
After passing the Kalander hut the path became narrower and steeper as you begin your first climb. The views of Natures valley from the top were well worth the effort.
A while later the trail passes under the N2 and the trail continues deeper into the mountains.
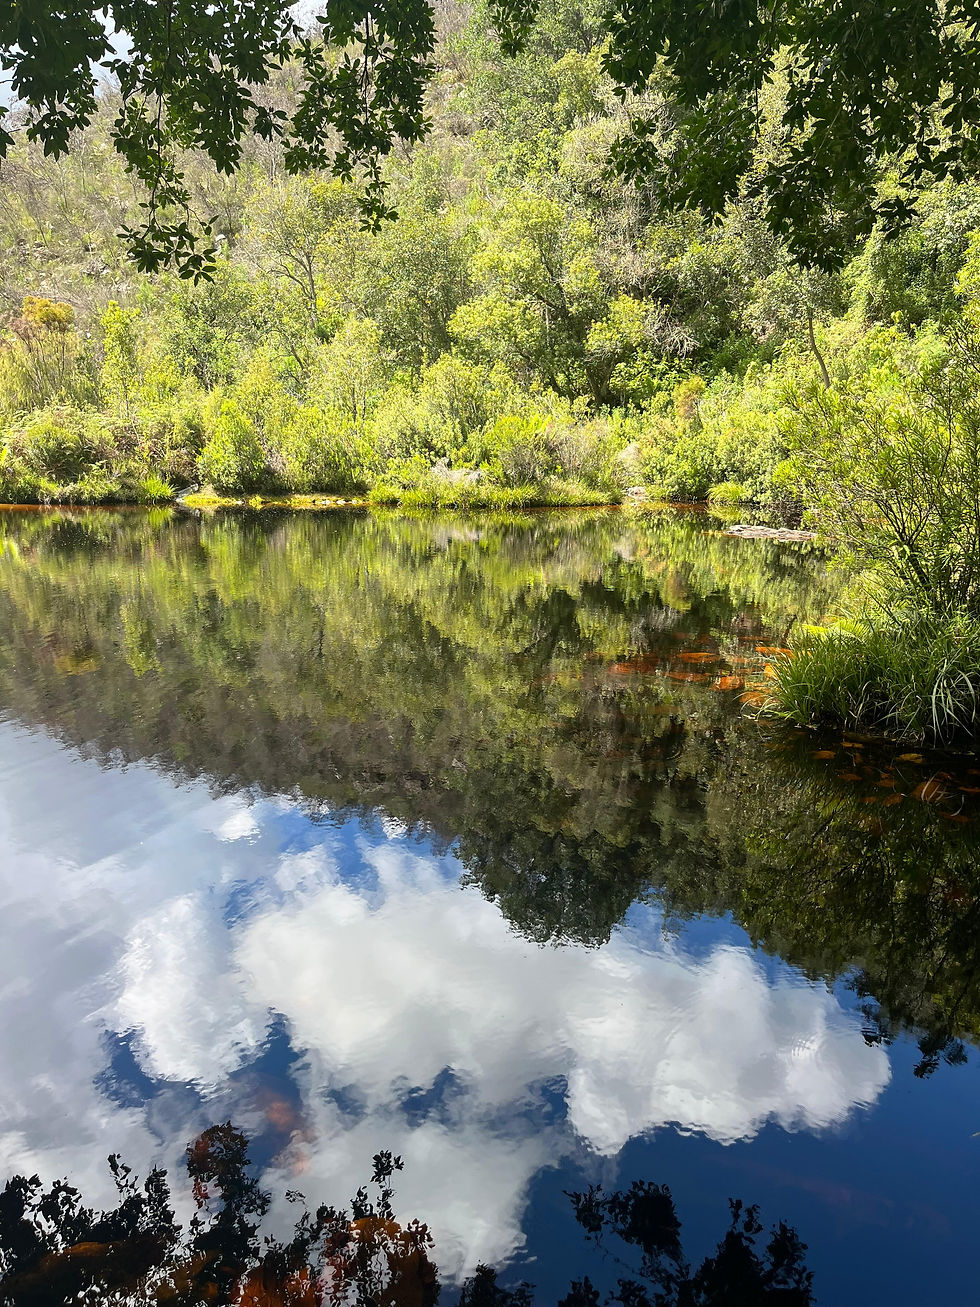
Further along into the forest, you’ll come across a gorgeous mountain pool - I highly recommend stopping for a swim!

The final stretch of day 2 takes you on a winding gravel road until you reach the Bloukrans hut. This hut has the most spectacular cliff- edge views.
If you have any strength left in your legs at the end of the day, continue down a little further past the huts along the start of the next day’s trail for a lovely post-hike swim.

Our day 1 was the longest day of the trail, with a total of 17km with 640m elevation gain. If you’re doing the 6-day hike this section is spilt, with Day 2 being a more manageable 14km from Kalander Hut to Bloukrans Hut.

Day 2 Keurbos hut - 13km
Day two starts with a descent into Buffelsbos, home to beautiful forest streams and incredibly dense indigenous forests.
Around 5 km in, you’ll reach a large mountain pool – perfect for a refreshing breakfast swim!
From there, the trail continues through Binnebos, eventually leaving the cool shady forest and opening onto more exposed mountain terrain.
Day 2 is relatively technical with sections of cambered trail. If you have any history of ankle or knee injuries, I highly recommend hiking with hiking poles.
After 13km and 640 elevation gain you will find yourself at the Keurbos Hut tucked in a valley beneath shady trees. The shorter distance allows for plenty of time to relax at the hut and take in the forest views. There is no swimming spot near Keurbos hut, so be sure to make the most of the swim along the trail.
Day 3 Heuningbos Hut - 12km
Day 3 is 12km long with 650m elevation gain and was my absolute favorite with some of the most rewarding views of the entire trail. The day begins with a steady incline, but you are soon rewarded with a descent into a gorgeous, lush fynbos valley.
After soaking in the scenery of the valley, the trail climbs again. This is one of the few spots on the trail with signal if you want to check in with your loved ones.
From the top, you descend into yet another valley and into a forest section, closely following the river. We found some perfect sun warmed rocks and couldn’t resist a quick tanning break.
After a bit of relaxing, we packed up and continued along the winding forest path.
The trail eventually leads you to a series of stunning rock pools. I recommend having a last swim here before walking up the hill to the hut.

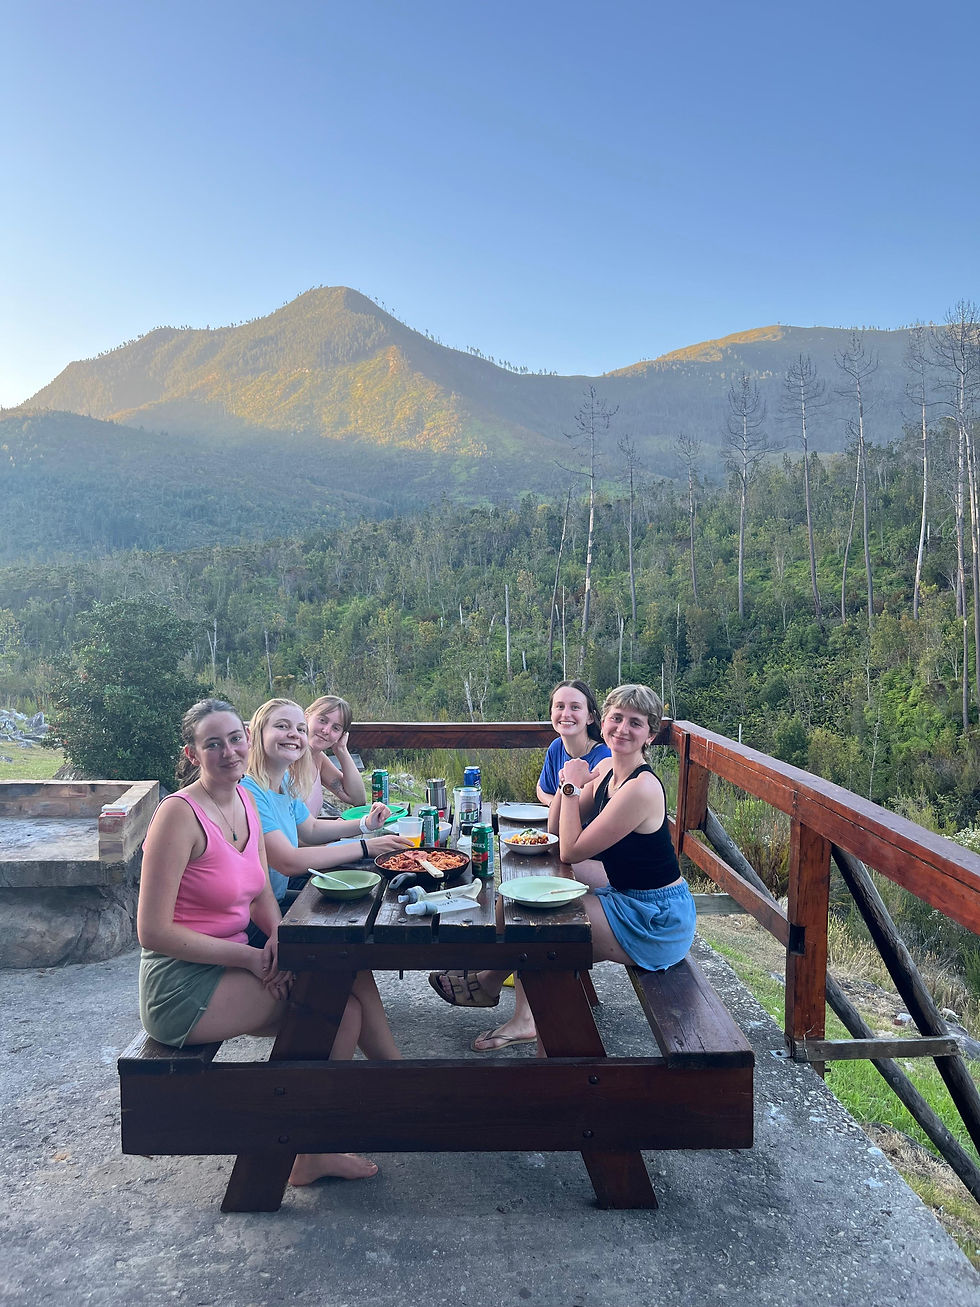
The Heuningbos hut was my absolute Favourite with breathtaking mountain views from the rooms, the kitchen area and even from the bathrooms (arguably the most scenic shower you’ll ever have!).
If you’re still up for it, there is another swimming spot about 100m down from the cabins.
Day 4 Sleepkloof 13km
Day 4 is defiantly the toughest day of the trial (and for us, it was also the hottest). I’d highly recommend starting this day early.
While it’s not the longest day distance wise, you cover the most elevation, with around 800 m elevation gain.
This day includes two long, and challenging climbs with less shade and fewer swimming spots compared to previous days. Its tougher and more exposed, so pacing and hydration is key for this day.

That said, with great elevation comes even greater views and the views from both climbs do not disappoint.
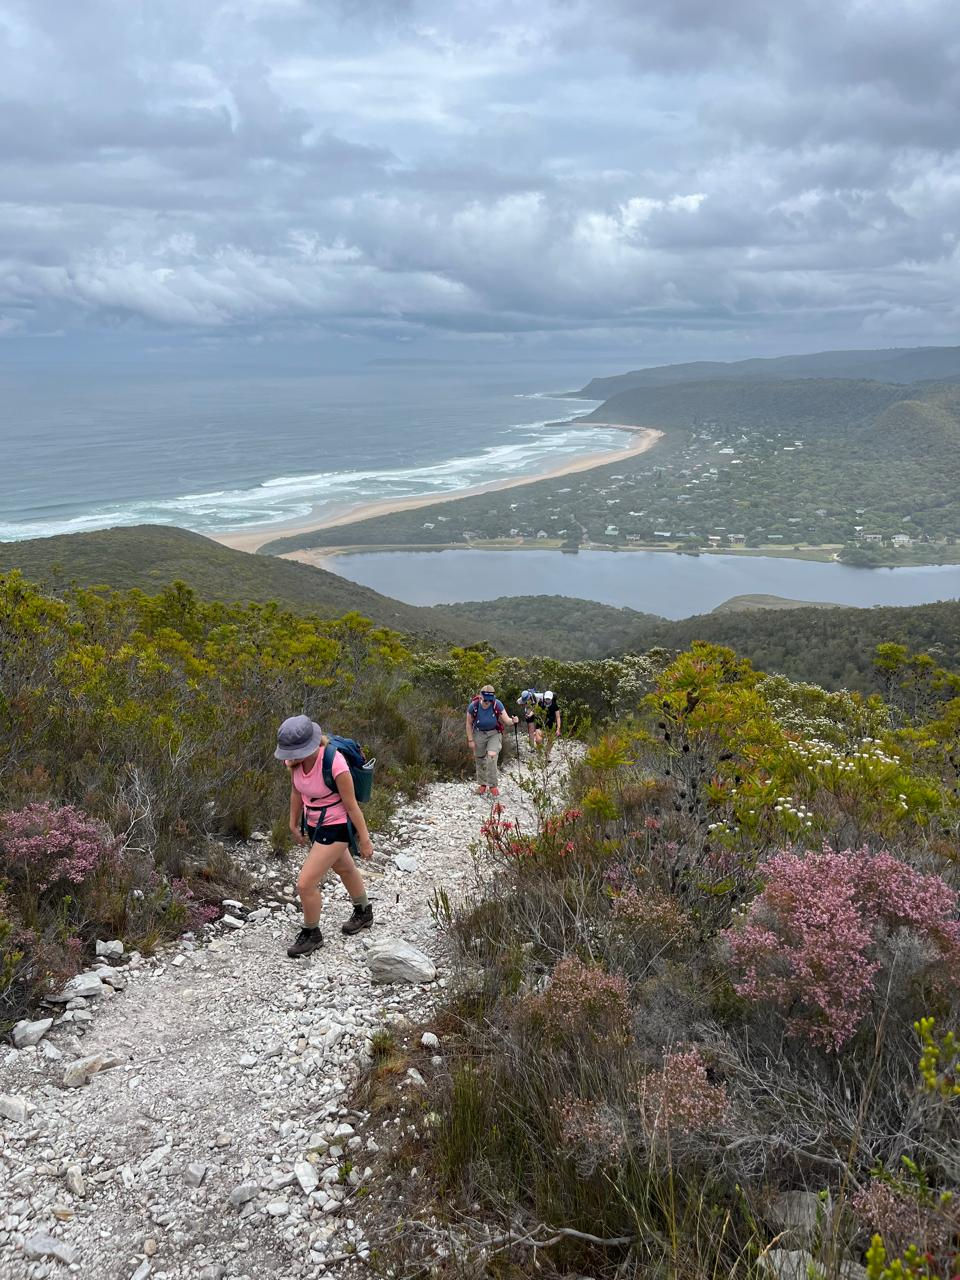
Towards the end of the day, the trail descends into Storms River, leading you to your final overnight stop at the Sleepkloof huts.

Day 5 Final Stretch 3km
The final stretch consists of a short, mostly flat walk out of the mountains and back to civilization.
The hike ends at the Storms River petrol station, where you can collect your car or wait for the shuttle to take you back to the start. There is an alternative ending if you would like to walk a little further and finish the hike in Storms River village.
That brings us to the end of the incredible Tsitsikamma hiking trail - one of South Africa’s most beautiful hikes, showcasing a stunning mix of fynbos, forest, & mountains.


Comments